A 2026 survey of Billings homeowners revealed that 62% of emergency roof repairs could have been avoided with routine inspections. For residents facing Montana's harsh winters and sudden summer storms, proactive roof maintenance isn't optional—it's essential. This guide walks you through the process of identifying early warning signs, avoiding costly mistakes, and knowing when to call professionals.
Step 1: Clear and Examine Gutters for Water Flow Issues
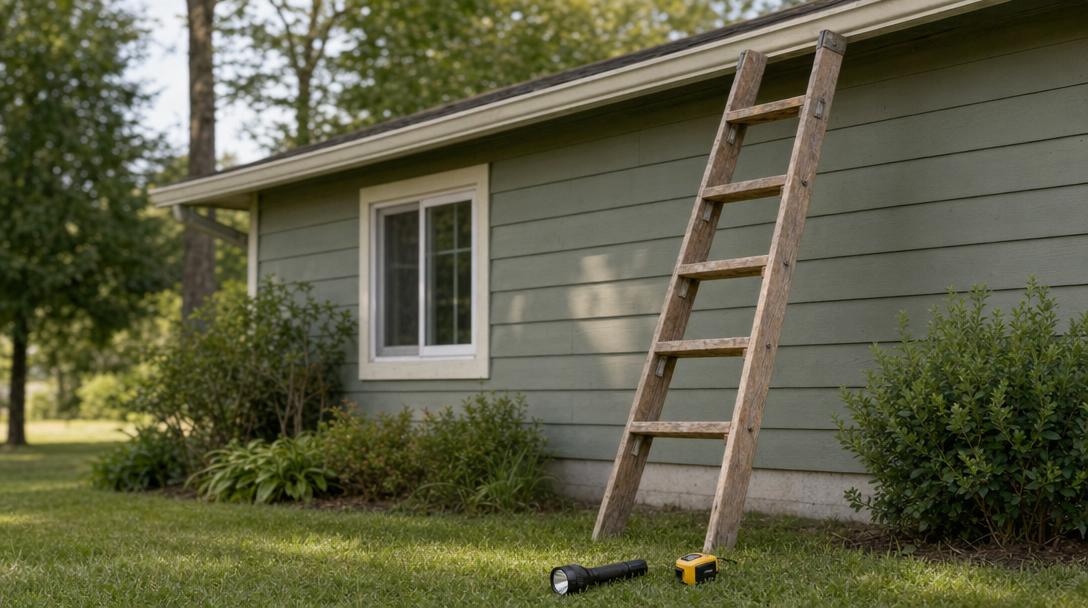
Start by using a ladder to access your gutters. Remove leaves, twigs, and debris with a trowel or gloved hands. Blocked gutters in Billings homes often cause ice dams in winter, which can lift shingles and create entry points for water. Flush the system with a garden hose to check downspout drainage—water should flow freely without pooling. A common oversight is neglecting second-story gutters; use binoculars if necessary.
Warning: Never lean a ladder against gutters that appear rusted or loose. Secure the base on flat, snow-free ground to avoid accidents.
Step 2: Inspect Shingles for Physical Damage
From ground level, use binoculars to scan for missing, curled, or cracked shingles. Pay special attention to south-facing slopes where sun exposure accelerates wear. In Billings' climate, wind-blown debris often damages lower-row shingles—these are critical for water deflection. If you climb onto the roof, walk diagonally across shingle tabs to avoid breaking them. Replace any shingles with granule loss exceeding a quarter-sized area.
Step 3: Check Vents, Flashing, and Chimney Seals
Penetration points like vents and chimneys are prime leak sources. Press gently around flashing edges with a screwdriver—flexible caulking indicates proper sealing. Replace brittle or cracked rubber boots around pipe vents. For chimneys, inspect mortar joints for gaps wider than 1/8 inch. Billings' frequent temperature swings make expansion/contraction cracks common; seal these with high-temperature silicone.
Step 4: Investigate Attic for Moisture Clues
Enter your attic during daylight with a flashlight. Look for water stains on insulation or rafters—these appear as yellowish streaks in Billings' drier climate. Check for frost buildup in winter (a sign of poor ventilation) and measure insulation depth. The recommended R-value for Montana attics is R-49; add batt insulation if yours falls below this standard. Moisture meters can detect hidden dampness in wooden beams.
Step 5: Schedule Professional Inspection for Complex Issues
If you find multiple damaged shingles, persistent attic moisture, or suspect structural issues, contact a licensed Billings roof inspector. Professionals use moisture meters with thermal imaging to detect hidden damage and can safely access steep or high-pitched roofs. A full inspection typically costs $150–$300 but prevents repairs that average $1,200+ when delayed. Verify contractors hold Montana Department of Labor certifications and carry liability insurance.
Key Takeaway: Regular inspections save Billings homeowners an average of $2,100 in emergency repairs over a roof's lifespan. Combine roof checks with foundation inspection near me services to catch systemic moisture issues.
By following these steps, you'll extend your roof's lifespan and avoid seasonal surprises. For comprehensive protection, pair your roof inspection with a plumbing inspection near me to ensure water systems aren't contributing to roof stress. Remember: in Billings' extreme weather, prevention is always cheaper than emergency fixes.
Frequently Asked Questions
Why are routine roof inspections important for Billings homeowners?
Routine roof inspections are crucial for Billings homeowners due to Montana's harsh winters and sudden summer storms. A survey revealed that 62% of emergency roof repairs could have been avoided with regular inspections, saving homeowners an average of $2,100 over a roof's lifespan.
What are the first steps in a DIY roof inspection?
The first steps involve clearing and examining gutters for water flow issues, removing debris like leaves and twigs. Afterward, inspect shingles from ground level using binoculars to look for missing, curled, or cracked shingles.
What should I look for when inspecting shingles?
When inspecting shingles, look for missing, curled, or cracked pieces, especially on south-facing slopes. Pay attention to lower-row shingles for damage from wind-blown debris and replace any with granule loss exceeding a quarter-sized area.
How can I check for leaks around roof penetrations?
To check for leaks around roof penetrations, gently press around flashing edges with a screwdriver to ensure flexible caulking. Inspect rubber boots around pipe vents for brittleness or cracks, and check chimney mortar joints for gaps wider than 1/8 inch.
When should I call a professional for a roof inspection?
You should contact a licensed Billings roof inspector if you find multiple damaged shingles, persistent attic moisture, or suspect structural issues. Professionals can safely access difficult areas and use specialized tools like thermal imaging to detect hidden damage.